|
 Report Tab SelectedThe Report tab will appear to be selected when you are on the Report page.
| |
 Report Customization Options
Behold allows you to decide what to include in the Everything Reports and also customize all the text that it adds into the Everything Report.
The Report Customization Options are divided into 5 parts:
-
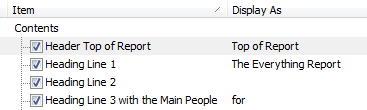
Contents: 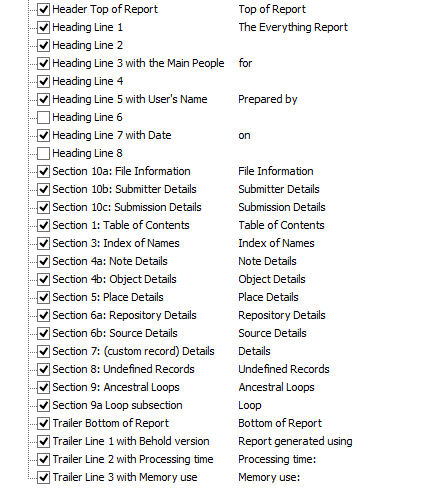 This part lists the sections of the Everything Report, and allows you to decide whether or not to include that section and what to display each title as. The Heading Lines are in the Top of Report section and the Trailer lines are in the Bottom of Report section. -
-
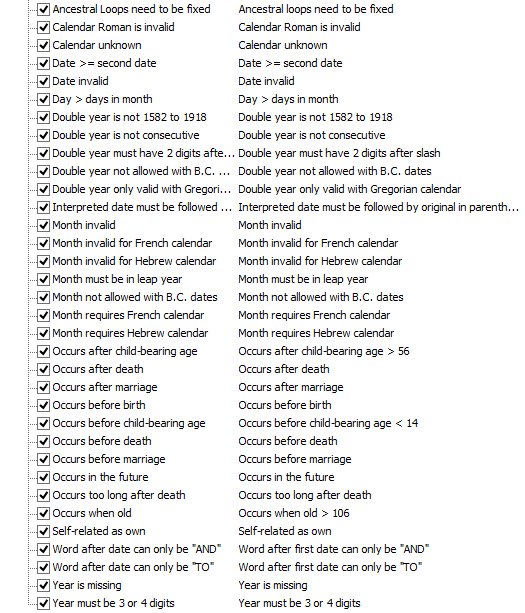
You can select the data problems you want Behold to display, and the text to display with them. When the text contains a number at the end that is used as the age condition, such as age < 14, or old > 106, you can change that number to whatever you want, and the number you enter will be the age checked for.
-
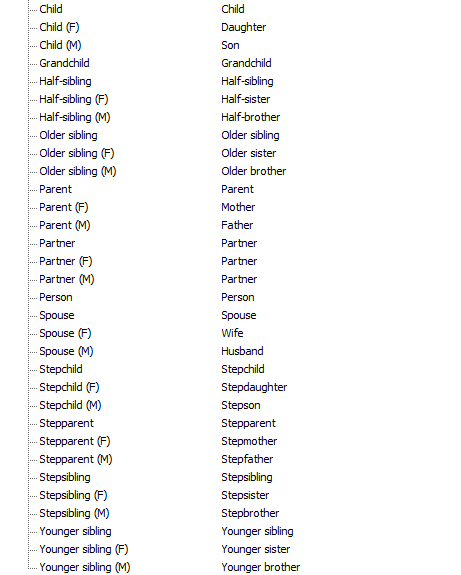
Relatives for Life Events You can specifiy how you want Behold to display relationships. Each relationship has three forms, female, male and unknown or either sex. If you do not want to differentiate sex, or if the language you are using does not differentiate, you can give all three the same name, as is doen by default as shown above for "Partner. "
-
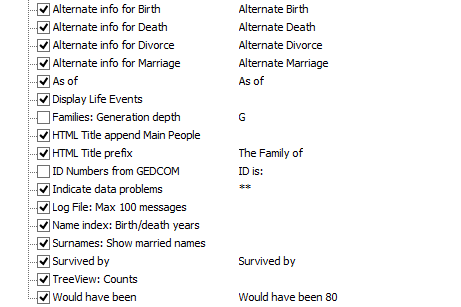
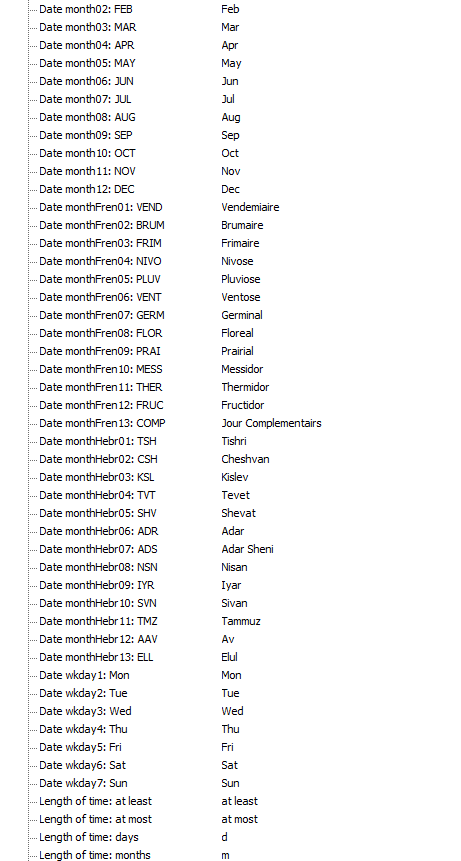
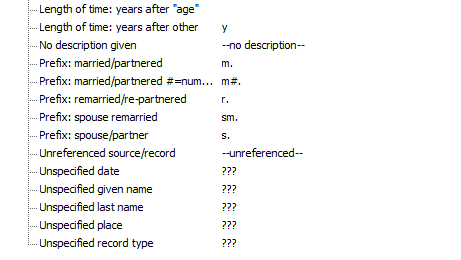
Text to Display 
The left item is some specific text, and the right item is what you want to display it as. These may be displayed at various places in the Everything Report. There is no checkbox to select whether or not to include each item, because these items normally need to be displayed.
You can sort by Item or by the "Display As" field by clicking on the column header. Clicking the same header again will sort in reverse order. The small arrow up or down (shown above in the Item section of the column header) tells you what is currently the sort column and whether it is sorted up or down.
You can make columns wider or narrower by grabbing and moving the small line between the two column headers.
| |
 Merge from ButtonOpens a standard Open Files dialog and allow you to specify a Behold Organize file. The item selections and the item "display as" fields from that Behold Organize file will be loaded.
If you have different sets of report items you like to use, you can save them in appropriately named Behold Organize files to make them easy to load from.
| |
 Merge into ButtonOpens a standard Save As dialog and allows you to select one or more Behold Organize files. The non-default report item selections and non-default report item text from this page will be saved to all of those Behold Organize files.
This makes it easy to update the settings in a number of Behold Organize files at once.
| |
 Select ButtonWhen a line is activated, this button will select or deselect that report item. You'll notice the effect in the checkbox for that line. Selected report items are displayed in the Everything Report. Unselected report items are not shown. Some report items cannot be deselected. Their check box is shown in a grey color.
| |
 Edit Text ButtonWhen a line is activated, this button puts the "display as" field for the line into edit mode.
| |
 Use Default ButtonBelow the button is the default "display as" field for this report item. If the "display as" field for the activated line is the same as the default, then the button is not enabled. But if it is different, then this button becomes enabled, and clicking on the button will set the "display as" field to the default value.
| |
|
|