|
 Title Bar
To the left is the Control Icon that represents Behold. If you left-click on that icon, the standard Windows application menu will appear with the entries: Restore, Move, Size, Minimize, Maximize and Close (Alt-F4). All standard Windows programs have this menu.
Following that is the name of the file that is open.
Finally that is followed by the program's name, and that of course is Behold.
| |
 Control Buttons
These are the standard Windows controls that most programs have at their top right corner.
First is the button to minimize the Behold window, and then comes the button to maximize the Behold window. Last is the "x" which will close Behold.
| |
 Menu Bar
This is about as standard a menu bar you can get. You'll find the File, Edit, Search, View and Help items on most program's menu bar.
Navigate and Organize have special menu items that pertain to Behold.
| |
 Toolbar Line 1
Behold has two toolbars. The one on top includes selected menu items from the File, Edit, Search and Navigate menus. The toolbar items are shown in the same order they are in the menus, and each vertical separator divides them into groups of related functions.
Hover your mouse over a toolbar item, and a short tool tip will pop up, and a longer tool tip will appear in the status bar. If there is a keyboard shortcut available for the toolbar item, then it will show up in the short tool tip.
| |
 Toolbar Line 2
Same as for toolbar 1, except these come from the View, Organize and Help menus.
| |
 TreeView
Behold's TreeView is a directory of the contents of the Everything Report. It works just like Windows Explorer.
Click on a + symbol to expand an entry. Click on a - symbol to collapse an entry. The number to the right of each line indicates how many entries there are to be expanded.
Clicking on any entry will move the Everything Report to that location.
The TreeView can be placed either to the left of the Everything Report, or above the Everything Report from the "Tile" commands on the View menu, or their corresponding tools on the toolbar:
View -> Tile Top and Bottom | View -> Tile Left and Right 
| |
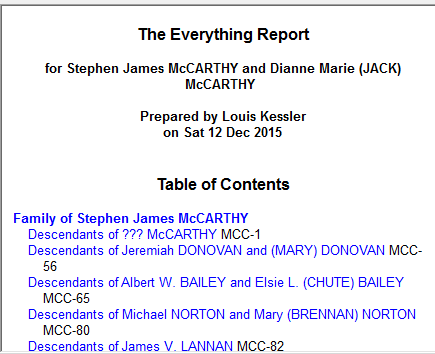
 The Everything Report
This is what it's all about. All your data is displayed here. It is like one long word processing document.
There is a Table of Contents at the top, followed by all the your data, and then a bunch of indexes.
| |
 Status Bar
The status bar shows the status after certain operations, and will also show a hint when hovering your mouse over some control.
| |
 Notification Area
The "INS" control is there ready for when editing is added. You'll be able to change from insert mode to "OVR" overstrike mode.
Next is a progress bar that will show progress when loading a file. For small files, it will almost instantly go to 100%, but it is useful for larger files that may take longer.
The little computer symbol shows if you are connected to the internet or not. Behold will NEVER go to the internet on its own. The only time it will go to the internet is when you request to download a new version of Behold. A white computer says you are connected. A black computer says you are not. A green computer means you are currently downloading a new version of Behold.
Next are two memory indicator dials. The first shows the percentage of available RAM being used on your computer, and the second shows the percentage of available swap files space being used on your computer. If both of these go into the "red" zone, then your computer is overloaded and Behold and everything else will run slowly. This was added so that you'll know if Behold is running out of memory for the processing it needs to do.
The diagonal lines in the lower right corner of the Status Bar are what you grab with the mouse and drag to resize the window.
| |
 SplitterLeft click the mouse on the splitter and you can drag it left or right (or up or down in top/bottom view) to balance the sizes of the TreeView and Everything Report the way you like it.
| |
|
|